The Window Source How to Photograph Food Using Natural Light New Hampshire, Massachusetts, and Maine

Whether you are an up-and-coming blogger or just want to show off the meal you’ve been laboring over, taking good photographs of your food can feel rewarding. One of the basics of food photography is that natural light tends to give you the best image, there are many small details that you can tweak from there to really spice up your photos of that sizzling meal.
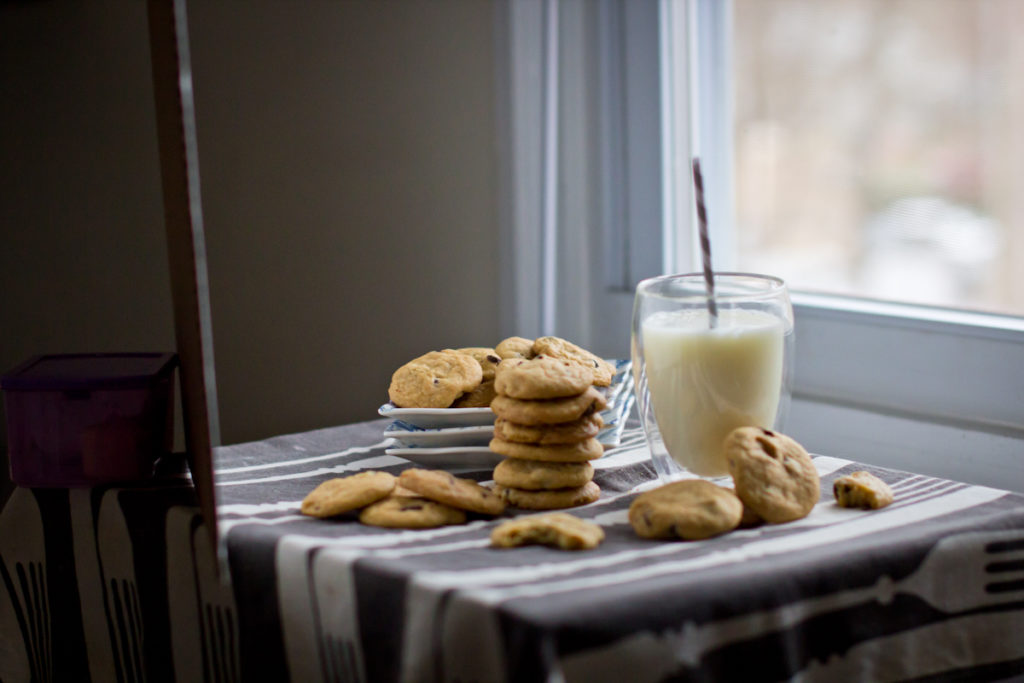
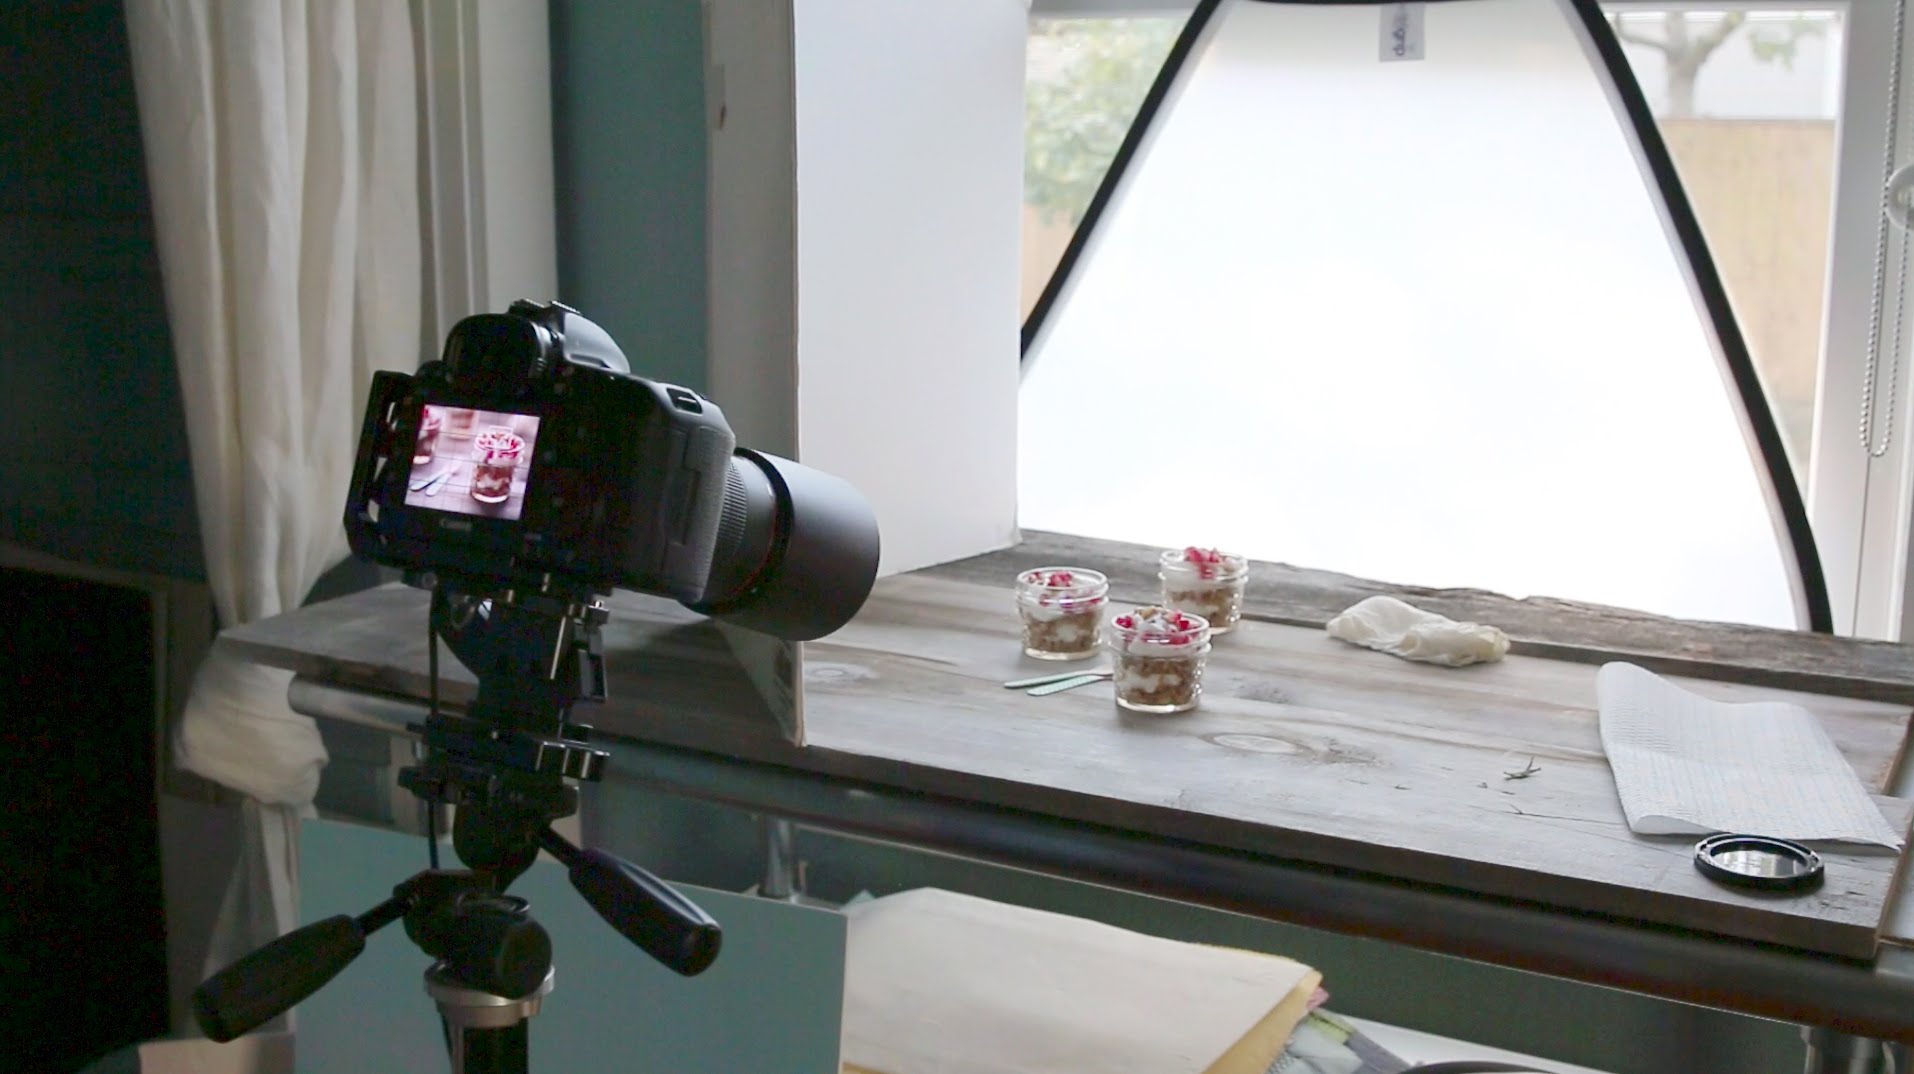
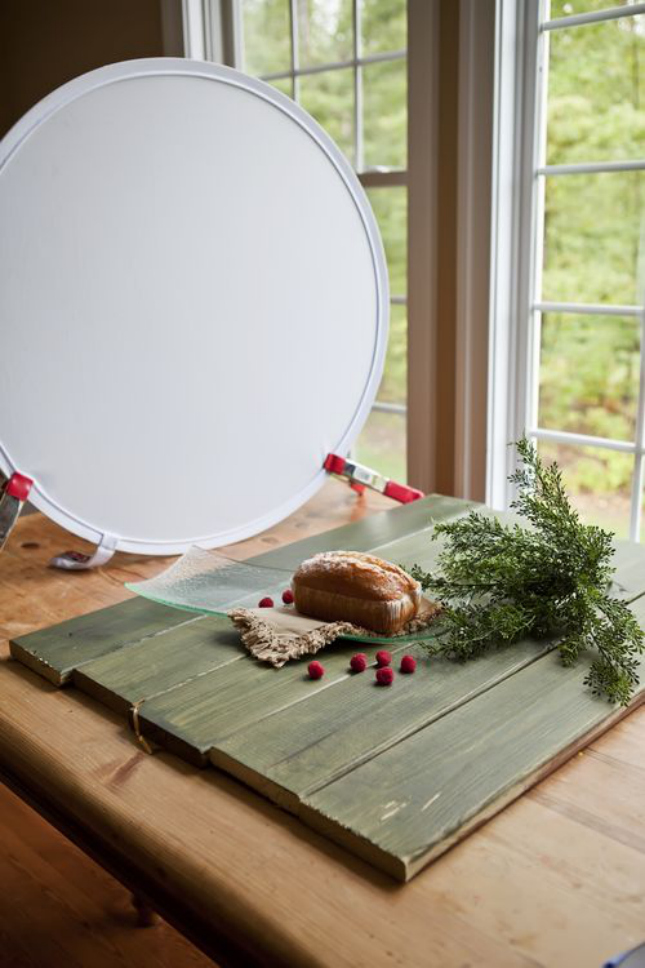
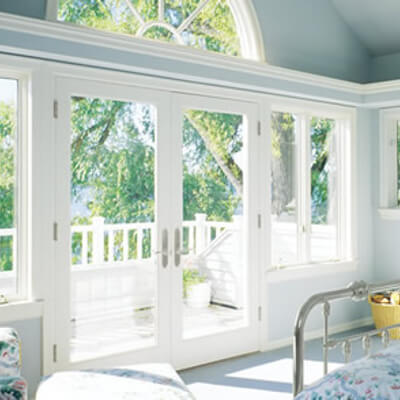
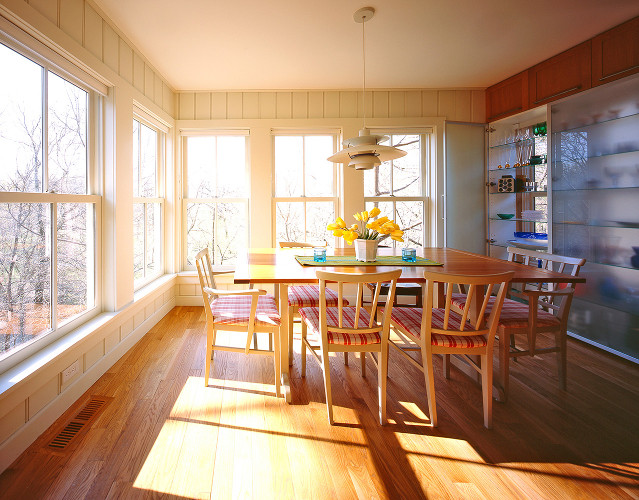
Your window is stationary so the first step to photographing your meal is to position your subject correctly. Ideally, you want to have a window at your side or behind the meal you are photographing. If your back is to the window, the food will loose depth and dimension.
Once you have achieved the correct placement you can move on to diffusing your light source. Use a sheer white curtain or parchment paper over the window to keep harsh rays from putting too much light on the meal. Filtering the sunlight means you can see more drama in your image. This is where you focus on the vivid colors and texture of the beautiful meal you just cooked up.
Control your lighting by turning off the other lights in the area. Those yellowing fluorescent bulbs are just going to throw off the color of your image. Instead, fill in your shadows by adding a white reflector on the opposite side of the window. This will lighten the darkest part of your subject.
How do you make drool-worthy photographs? You add some sparkle to the glaze reduction or focus in on the sheen of your freshly braised proteins. Mirrors or tinfoil will put the spotlight on the highlights of your image.
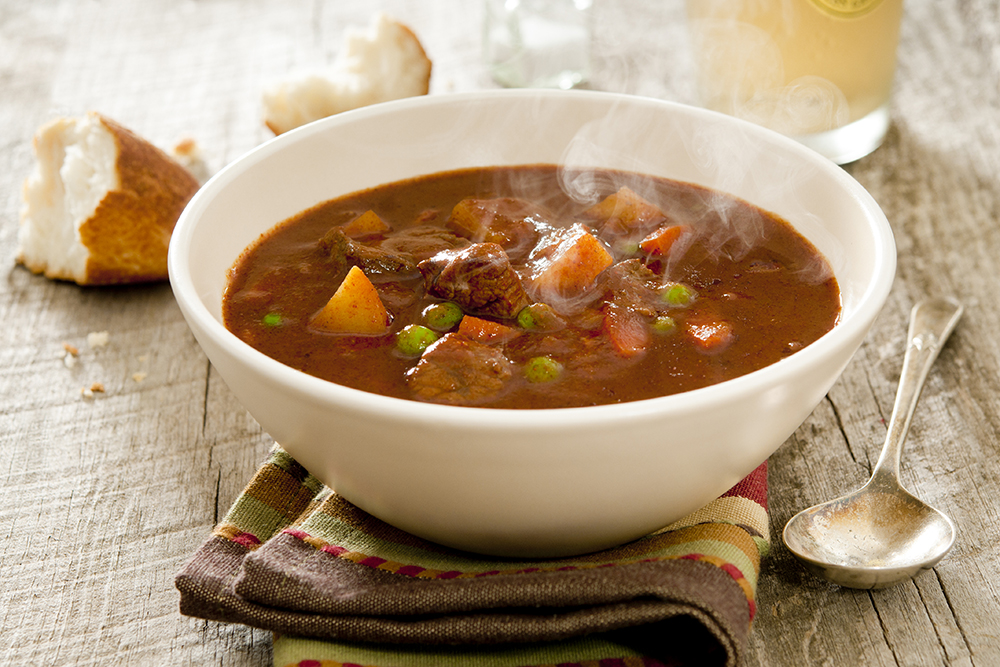
Once you have set the scene of your photographs you can start getting creative. Play around with your focus. Change up your angles. Zoom in…and then zoom in even closer. Really pay attention to those caramelized crunchy bits or that misplaced crumb. Capture the steam. Try to get your viewer to imagine what this delicious meal smells like.
Click on, you fancy foodie!
